Are you looking for How To Set Up Raspberry Pi Without Monitor Or Keyboard? Raspberry Pis are cheap and compact, but attaching one to a monitor, keyboard, and mouse takes up room and money. It’s not necessary to connect the Pi to a display or input devices to program or operate lights, motors, and sensors.
You can control the system remotely using your primary computer’s VNC or SSH client. A screenless installation is a headless Raspberry Pi configuration that works with any networked Pi, even a Pi 5. All remote access is restricted by default in Raspberry Pi OS (previously Raspbian). The good news is that you can turn them on without a display or keyboard.
How To Set Up Raspberry Pi Without Monitor?
If you follow the steps below, you can make a Set Up Raspberry Pi without Monitor:
- Gather all the pieces to Set Up Raspberry Pi without Monitor
- Write the Raspian operating system to the MicroSD card
- Establish an SSH Connection to your Raspberry Pi
Let’s explain each step in detail to get a better idea about How to Setup Raspberry Pi Without Monitor and Keyboard? So, Let’s start:
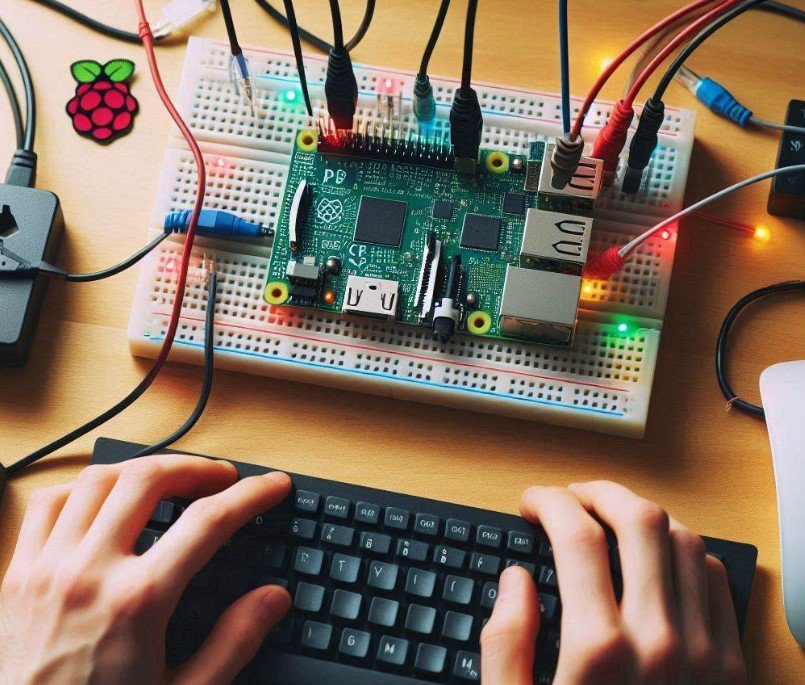
Gather All The Pieces
Downloading the Raspberry Pi’s operating system is the first step. For this lesson, I’ll be using Raspbian Jessie Lite. It is available for download from the Raspberry Pi Foundation here.
After getting the ZIP file, open it in a different folder. After that, the operating system will be contained in a single.image image file: A program that can write the operating system image file to a microSD card will then be required. To accomplish that, download and install Win32DiskImager:
We now need a method to go to the command prompt on the Raspberry Pi. PuTTY, a remote SSH client, allows us to accomplish this. Using PuTTY, you can connect the Raspberry Pi to another computer using SSH.
It launches a window where you can use the command prompt on the Raspberry Pi. Simply get and set up PuTTY on your machine.
You can use Terminal to SSH into the Pi if you’re using a Mac. Additionally, we’ll need to figure out how to get your Raspberry Pi’s local IP address when it’s linked to your router with an Ethernet wire.
Although there are several methods for doing this, Advanced IP Scanner is relatively user-friendly. All connected devices and their local IP addresses will be listed when it has scanned your home network.
Another method for determining your Pi’s local IP address is to access the router’s setup page and obtain a list of all connected devices. However, in order to access your router, you must know its login and password.
If you choose to go this route, look for the user manual online after finding the router’s product number on the back. There should be instructions on how to examine the connected devices and get to the router’s setup page.
Write The Raspian Operating System To The MicroSD Card
Let’s write the operating system image to the microSD card now that we have everything we need. Using the SD card connector, plug in a microSD card that is empty.
Next, launch Win32DiskImager and click the little folder icon to choose the operating system image file that was previously extracted. Next, choose the drive containing the microSD card from the Device drop-down list.
Click Write now that the window is at the bottom. Depending on your computer and the size of your microSD card, this could take one to fifteen minutes:
If You’re Using A Version Of Raspbian Released After November 2016, There Is One Extra Step:
After November 2016, Raspbian releases came with SSH turned off by default. One technique to make it active is to get to the raspi-config menu and turn it on. But since we’re configuring it without a display, we still need access to the command prompt. Fortunately, there’s another method to enable SSH.
To get started, create an empty file called SSH and save it in the SD card’s root partition. The file should not contain a .txt or .doc extension. The simplest method to accomplish this is to save the blank page as SSH.txt in a text editor such as Notepad.
After quitting the text editor, rename the file so that the.txt extension is removed. Next, transfer the file to the SD card’s root partition, which is the top-level folder. The SD card can now be removed from your PC and put into your Pi.
Establish An SSH Connection To Your Raspberry Pi
After plugging in the power cord to get the Pi to boot up, connect it to your internet router using an Ethernet wire. Now we need to find the Pi’s local IP address, which your router has given it.
After launching Advanced IP Scanner, select Scan in the upper left section of the window. A list of the linked devices along with their local IP addresses will appear.
In the Manufacturer column, note down the IP address of the device that bears the name Raspberry Pi Foundation. For me, the IP is 10.0.0.105. Connecting to the Pi is now necessary. Launch PuTTY and type the IP address of the local machine into the Host Name field. To connect right away, click Open.
During the initial attempt to connect, a security alert will be displayed. Since you are connected to your own Pi, simply click Yes. If the SSH connection is successful, your Raspberry Pi will prompt you to log in. If this is your first login and you haven’t changed either, enter pi for the username and raspberry for the password.
You are now in the SSH interface on your Raspberry Pi. It’s a good idea to customize your Raspberry Pi at this point by opening the configuration options menu using sudo raspi-config.
This is the place to modify all of Raspbian’s default settings as well as do other helpful operations like overclocking the processor and expanding the file system.
The next step to accessing the Pi’s desktop environment after configuring SSH is to set up WiFi and create a remote desktop connection.
Conclusion
To conclude, How To Set Up A Headless Raspberry Pi, No Monitor Needed? With the Pi now in your possession, you may use the command line to Set Up Raspberry Pi without Monitor.
With any luck, this advice will come in handy for your upcoming endeavors. Did you find this article to be enjoyable? If so, please share it with others and let us know if you have any recommendations for how to make this guide better by leaving a comment!
Top FAQ’s
How can I configure a Raspberry Pi without a monitor for SSH?
The only method to activate SSH in headless mode on a Raspberry Pi when it’s not connected to a display and keyboard is to use a blank boot file. You must make an empty SSH file on a different computer in order to complete this procedure. We will use this file on the Raspbian start SD card to turn on SSH.
Is it possible to utilize my TV as a Raspberry Pi monitor?
You need a screen and a connection to connect the screen to your Raspberry Pi in order to access the desktop environment of Raspberry Pi OS. A computer monitor or a TV could be used for the show. Raspberry Pi can use the built-in speakers on the screen to play audio.
Is it feasible to utilize a laptop for a Raspberry Pi’s monitor?
First, an Ethernet cable is required to use a Windows laptop as a Raspberry Pi display. The Raspberry Pi can then be immediately connected to your Windows 10 laptop or to your router. For a speedier connection, I suggest making a direct connection to the laptop.
Can I use my phone as a Raspberry Pi monitor?
After installing the software on your phone, you must use the video capture card to connect the Raspberry Pi to Android. Then, launch the USB camera app. Next, choose an appropriate resolution; you may even enable full-screen mode for the display. The phone’s touchscreen functions flawlessly while configured this way.


